

Prerequisites
- You can sign in to the Vela dashboard.
- You know which team channel or email should receive alerts.
- You have a sample event payload ready (JSON).
Sample event payload
Sample event payload
Step 1: Create an App
- Open the Dashboard and click Create New App.
- Enter an App Name and optionally customize the Slug (auto-generated from the name).
- Click Create App.
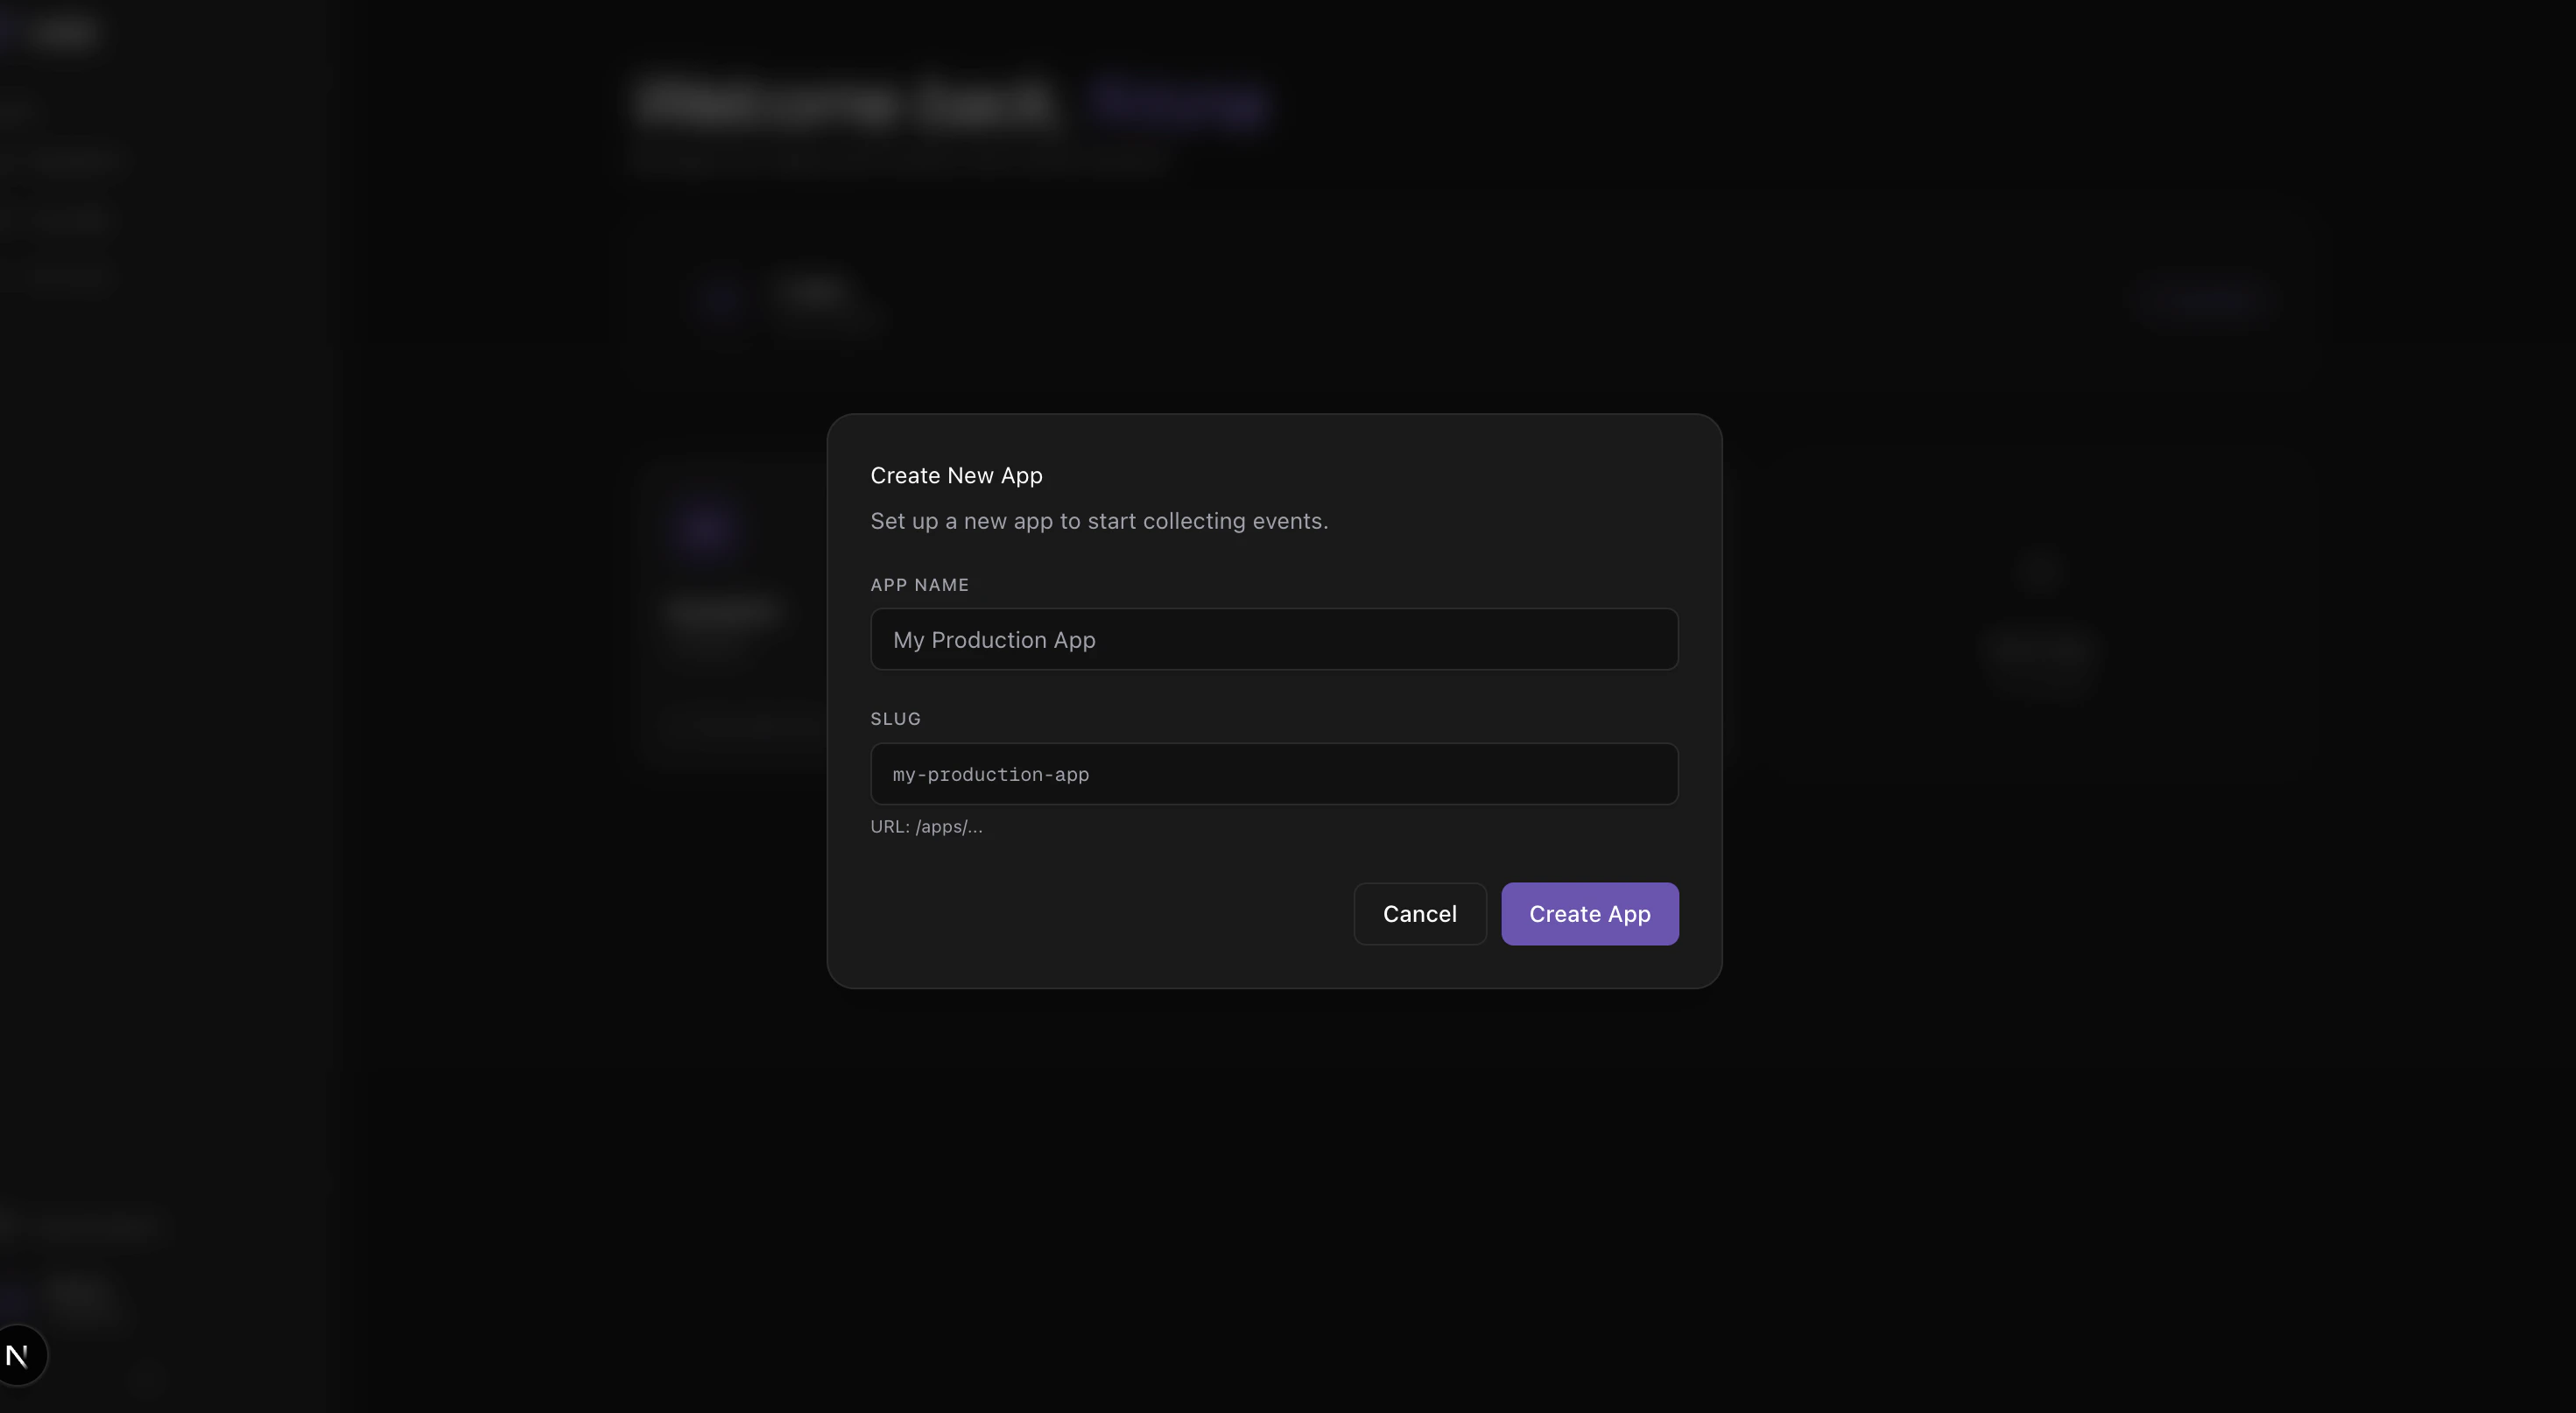
The Create New App dialog — enter a name and slug to get started.
- On the API key reveal screen, click Copy key and store it in a password manager or secret vault.
- Click Open app to continue.
Step 2: Define a Schema
Navigate to Schema Builder in the sidebar.- Create or select an event name (e.g.
order.placed). - Add fields using the visual editor — set name, type, and whether each field is required.
- Optionally add a Description for the event.
- Click Update to save.
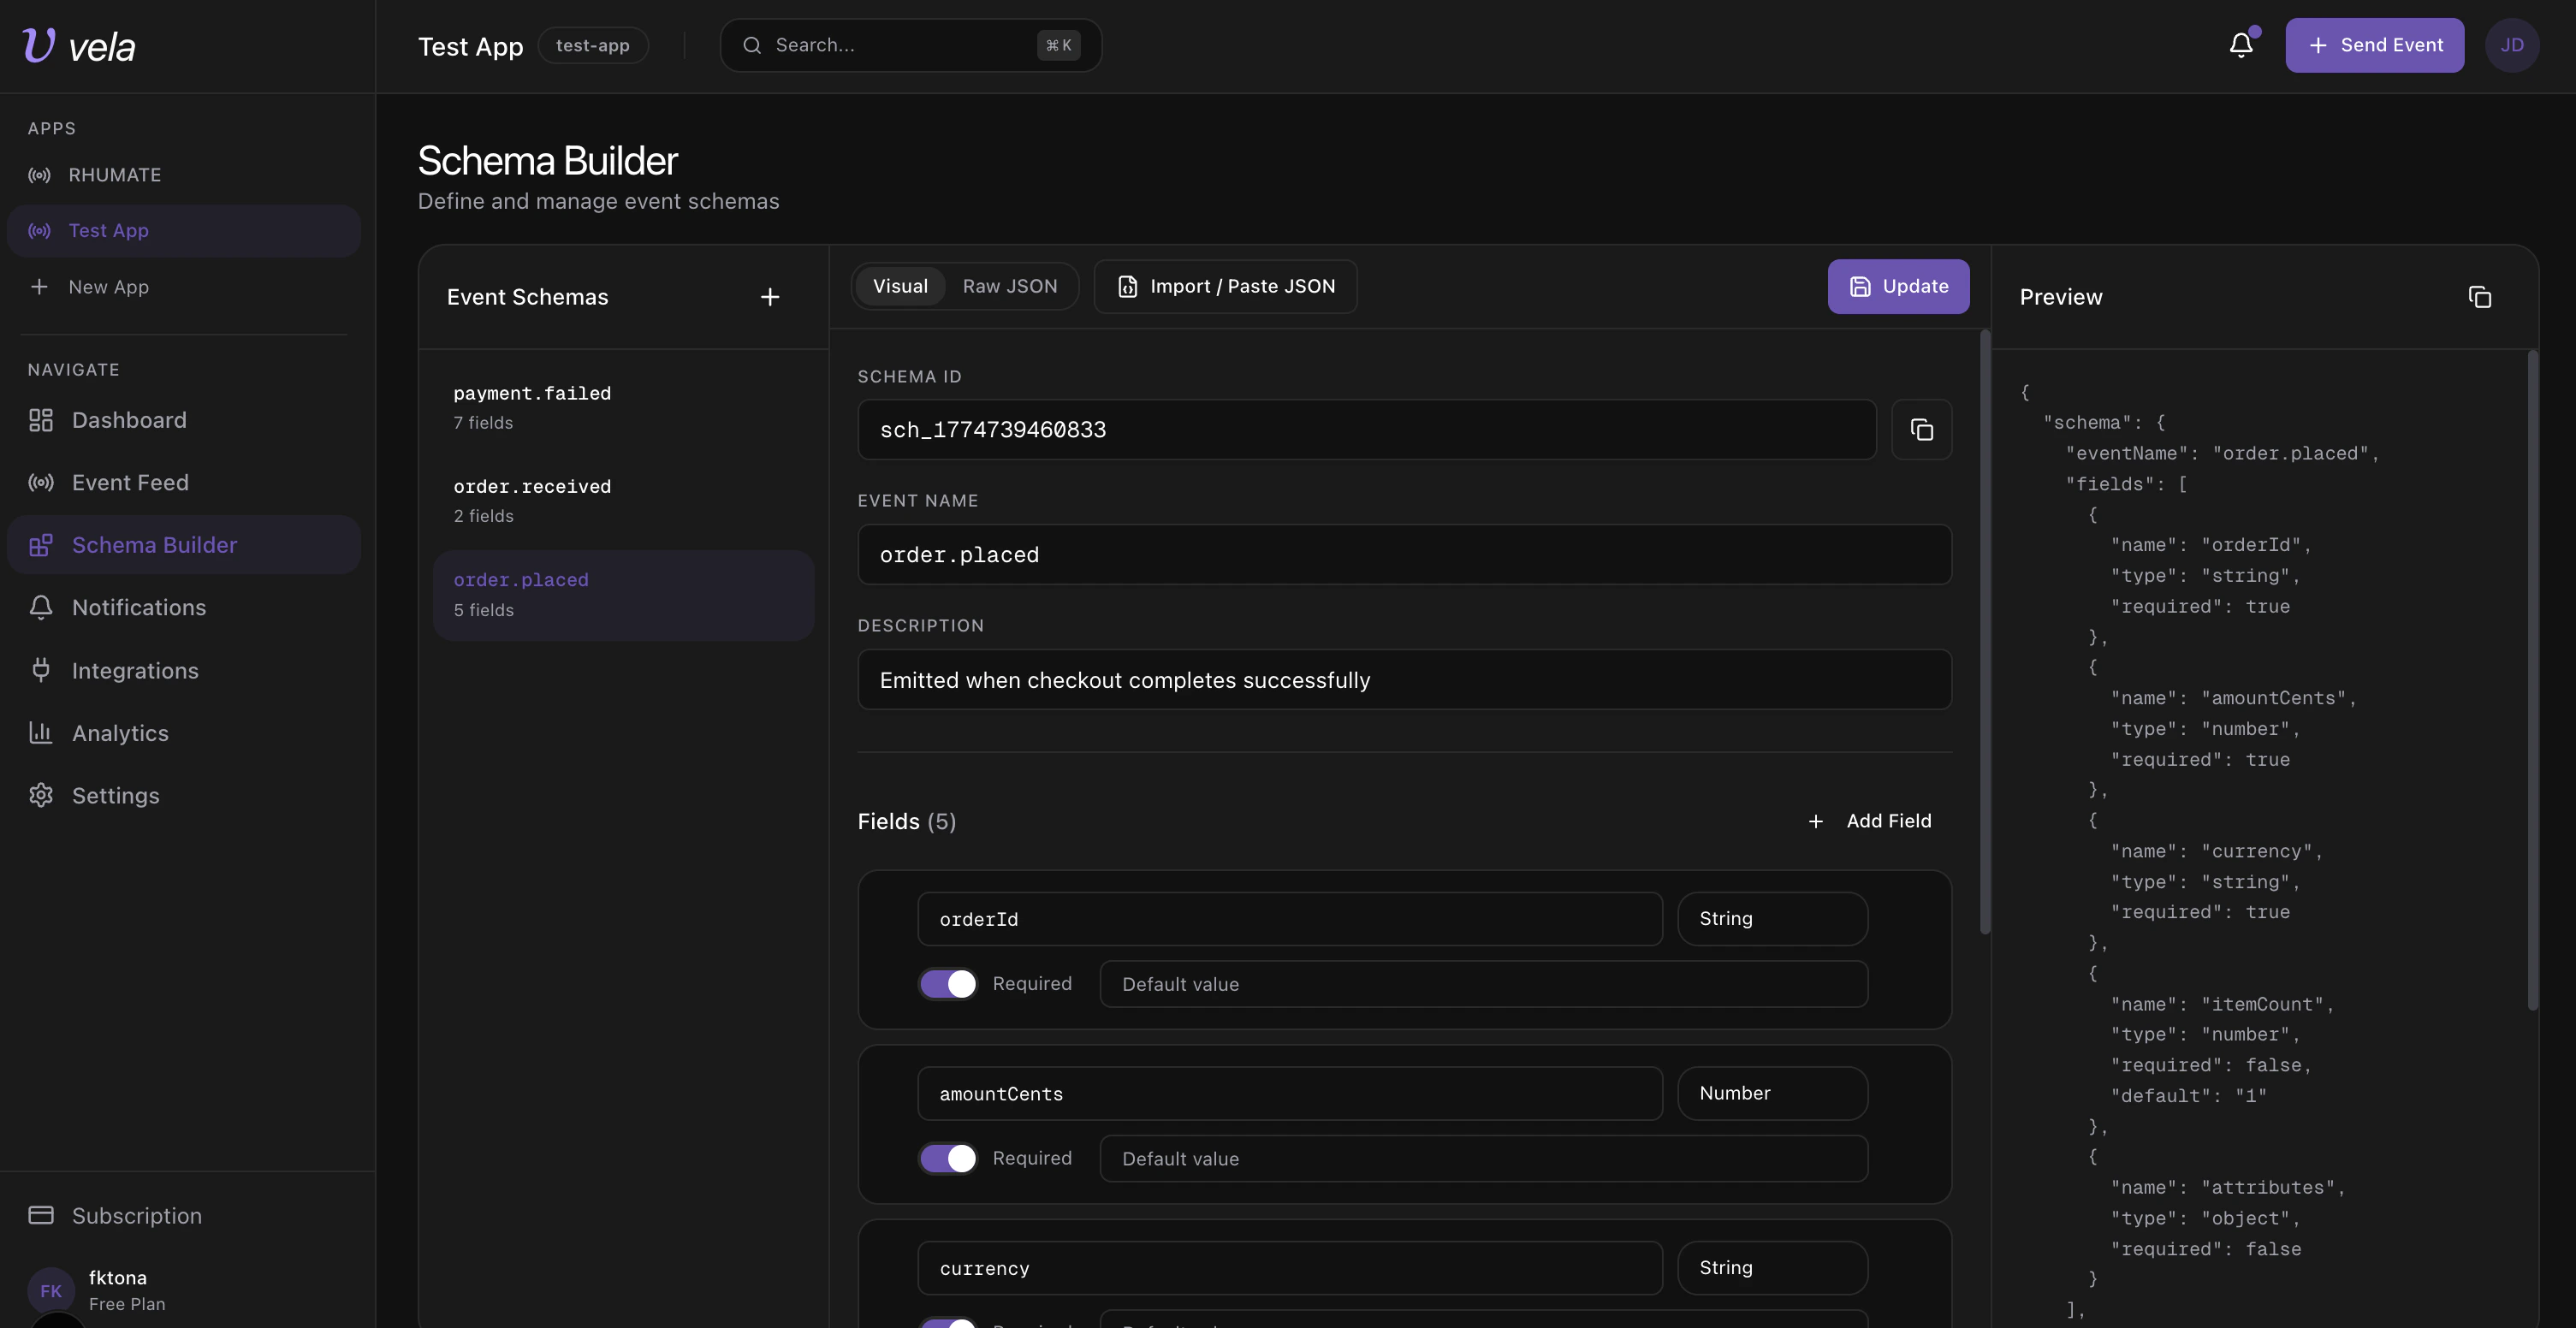
Schema Builder — define fields visually and preview the JSON schema in real time.
Step 3: Add Integration Destinations
Navigate to Integrations in the sidebar. Destinations are where alerts get delivered. You must add at least one before creating notification rules.- Click Add destination.
- Choose a channel type (Slack, Discord, or Email).
- Enter a label and the webhook URL or email address.
- Click Save destination.
- Click Test to verify delivery.
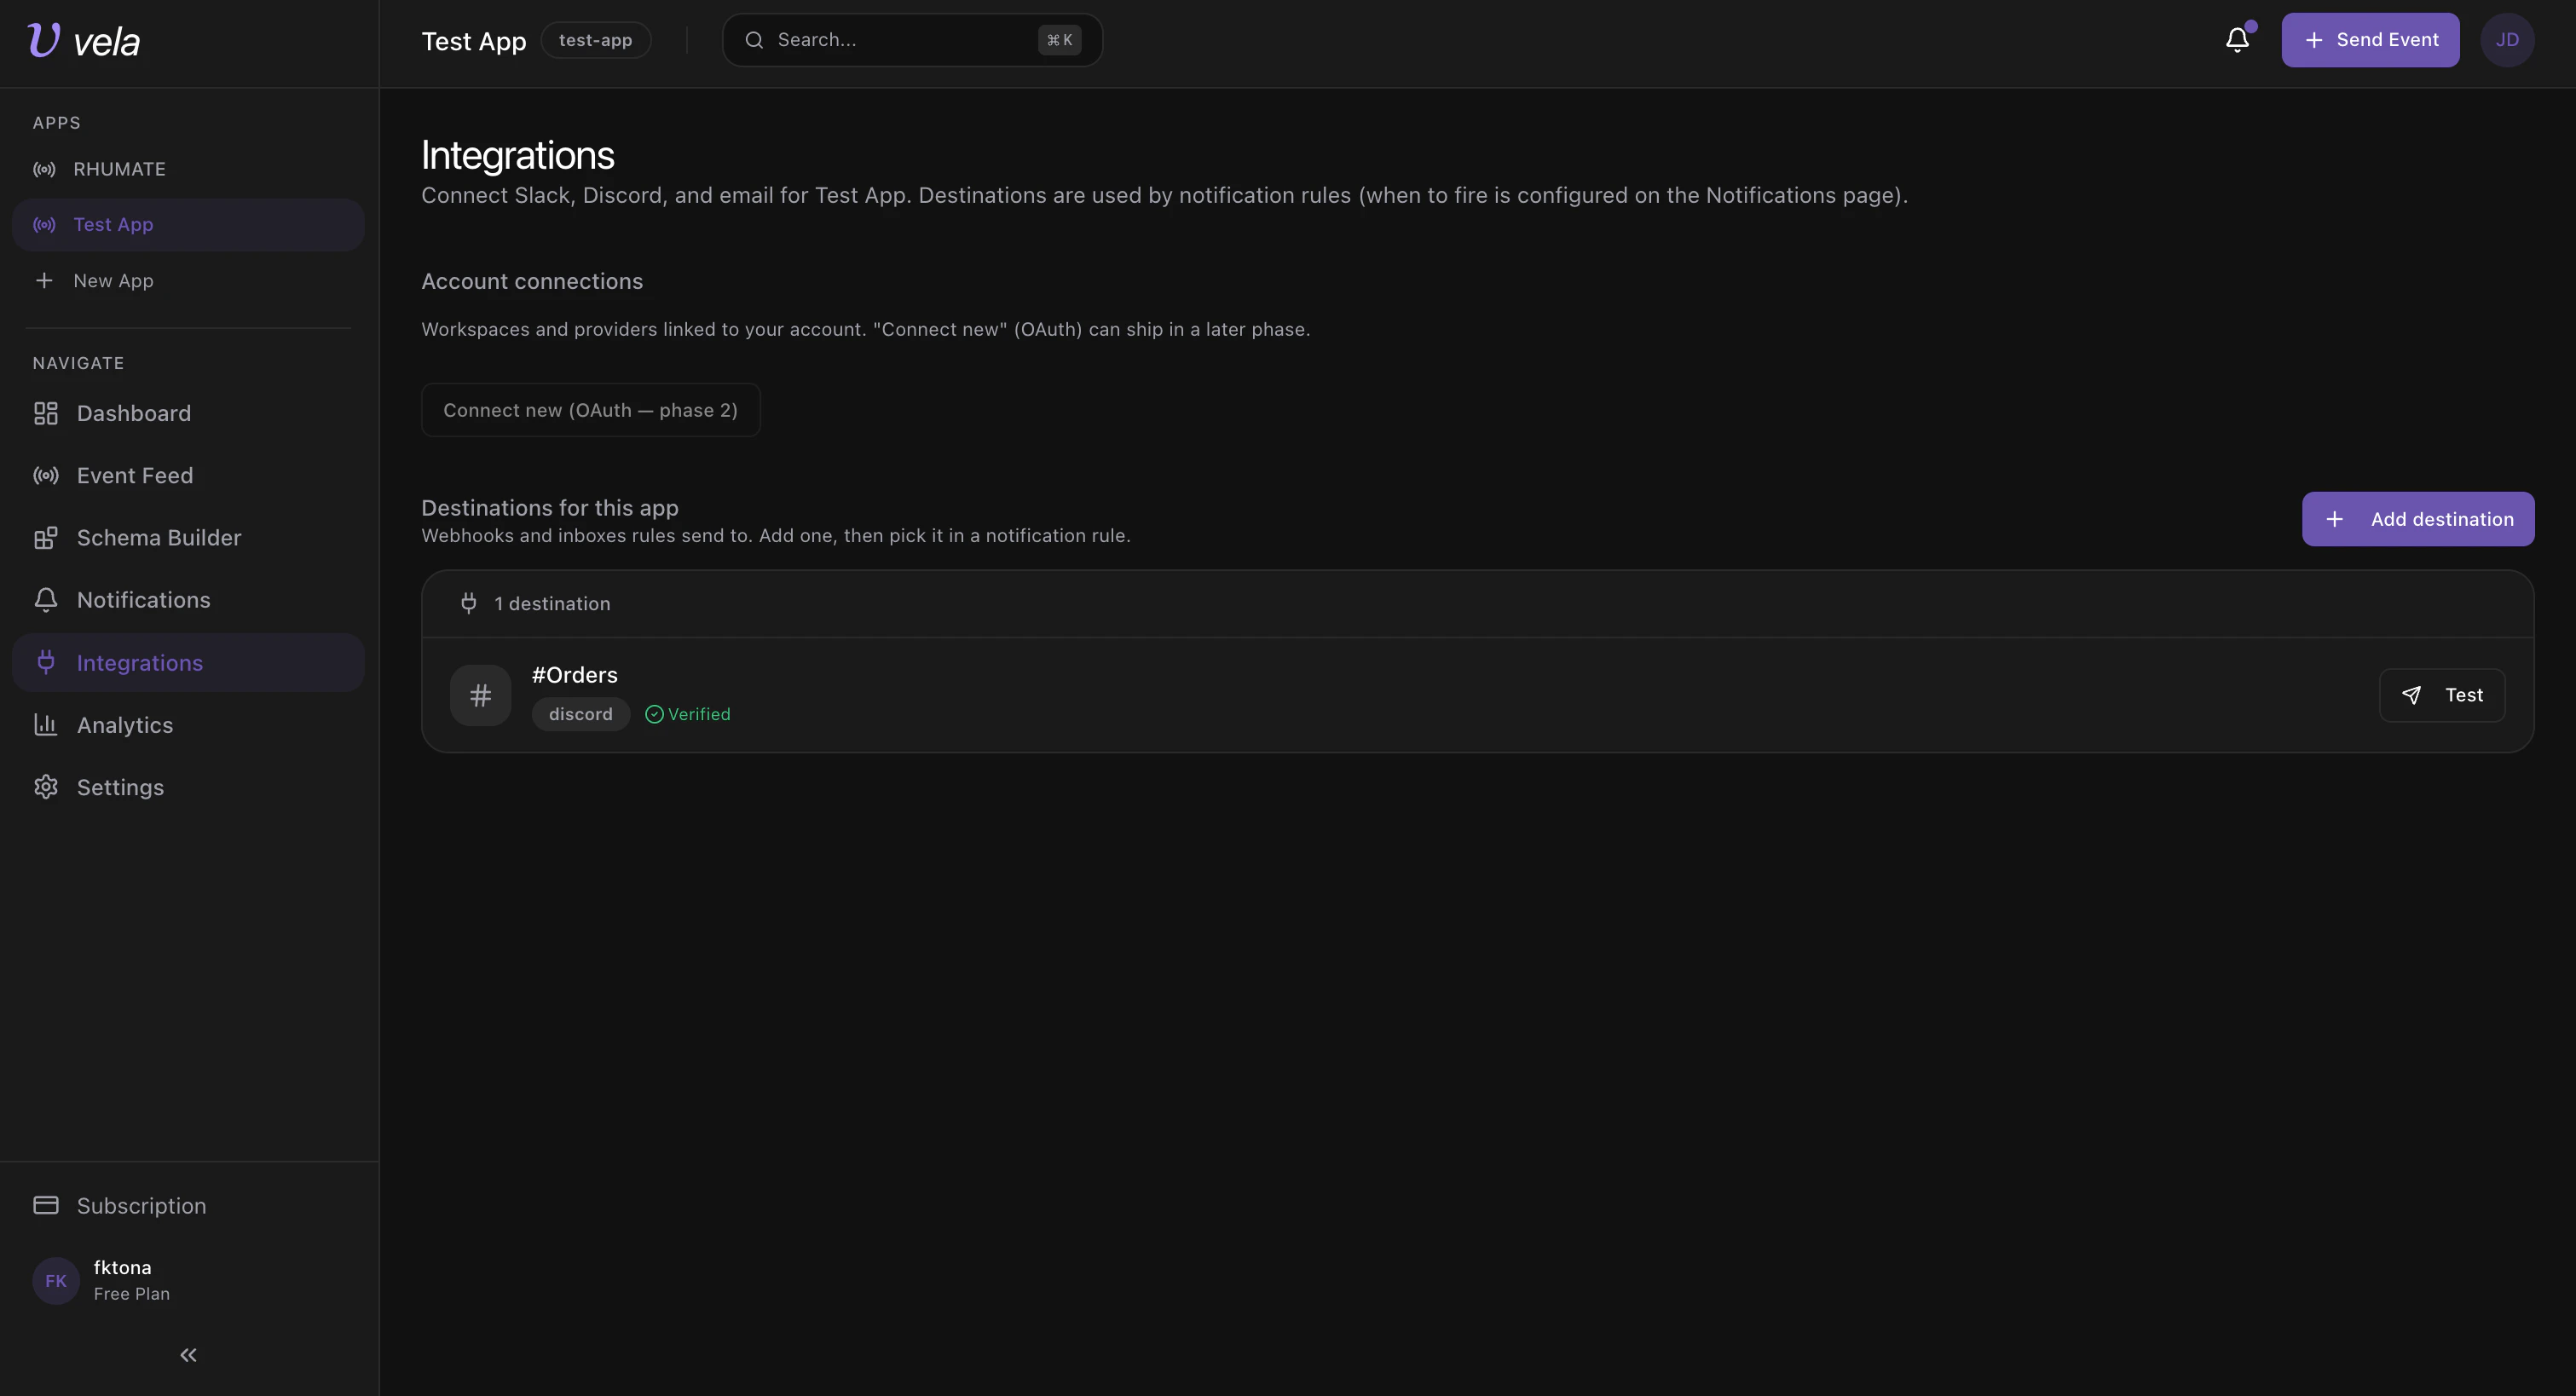
Integrations page — manage account connections and app destinations.
Slack setup
Slack setup
- Channel type: Slack (webhook)
- Label: e.g.
#incident-alerts - Webhook URL: paste your Slack incoming webhook URL
- Save and send a test message
Discord setup
Discord setup
- Channel type: Discord (webhook)
- Label: e.g.
#ops-discord - Webhook URL: paste your Discord webhook URL
- Save and send a test message
Email setup
Email setup
- Channel type: Email
- Label: e.g.
On-call email - Email: e.g.
oncall@company.com - Save and send a test message
Step 4: Create Notification Rules
Navigate to Notifications in the sidebar. Rules define when and where to send alerts based on incoming events.- Click New Rule.
- Enter a Rule Name and select an Event from your saved schemas.
- Under Conditions, click Add to define filters (e.g.
currency contains USD,amountCents less than 7000). - Under Actions, click Add and pick a destination from your integrations.
- Click Save Rule.
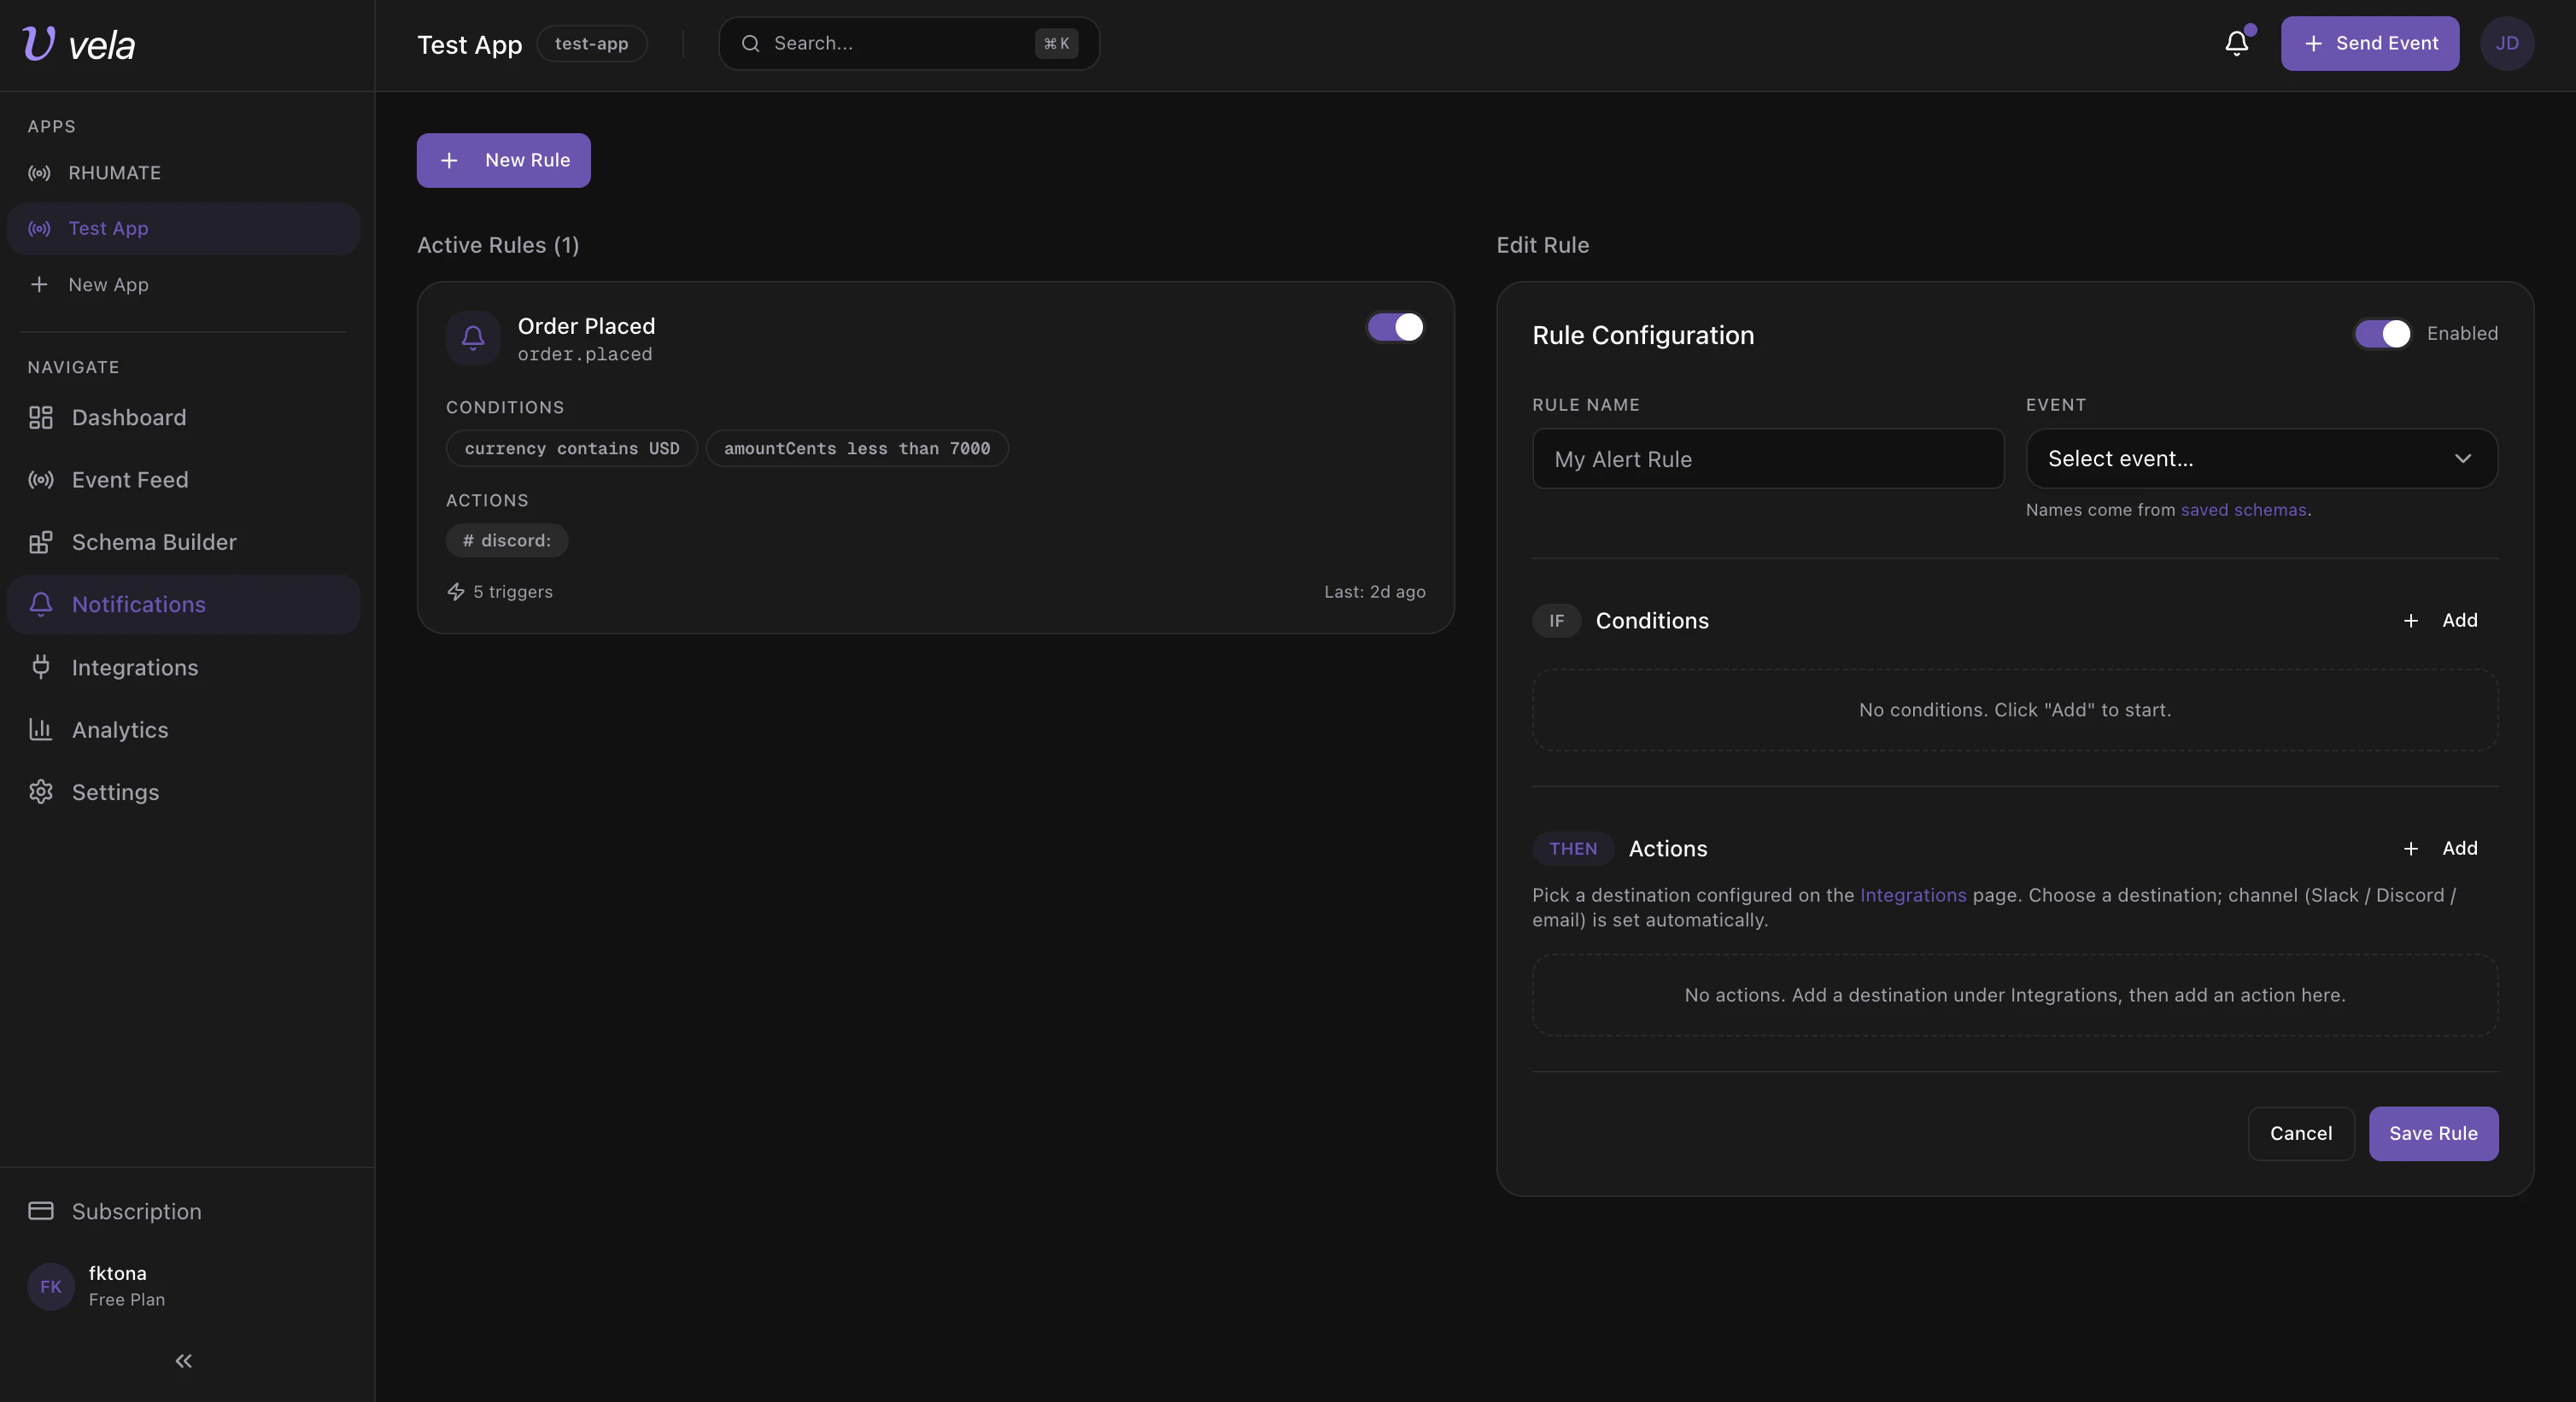
Notification Rules — active rules on the left, rule configuration editor on the right.
If you don’t see a destination in the action dropdown, add it first in Integrations, then return here.
Step 5: Send a Test Event
Use the API key from Step 1 to send your first event:1
Check Event Feed
Navigate to Event Feed in the sidebar. Your event should appear at the top.
2
Check rule triggers
Go to Notifications — the matching rule’s trigger count should increase.
3
Check destinations
Confirm your Slack channel, Discord channel, or email inbox received the alert.
Step 6: Manage Keys and Secrets
Navigate to Settings in the sidebar.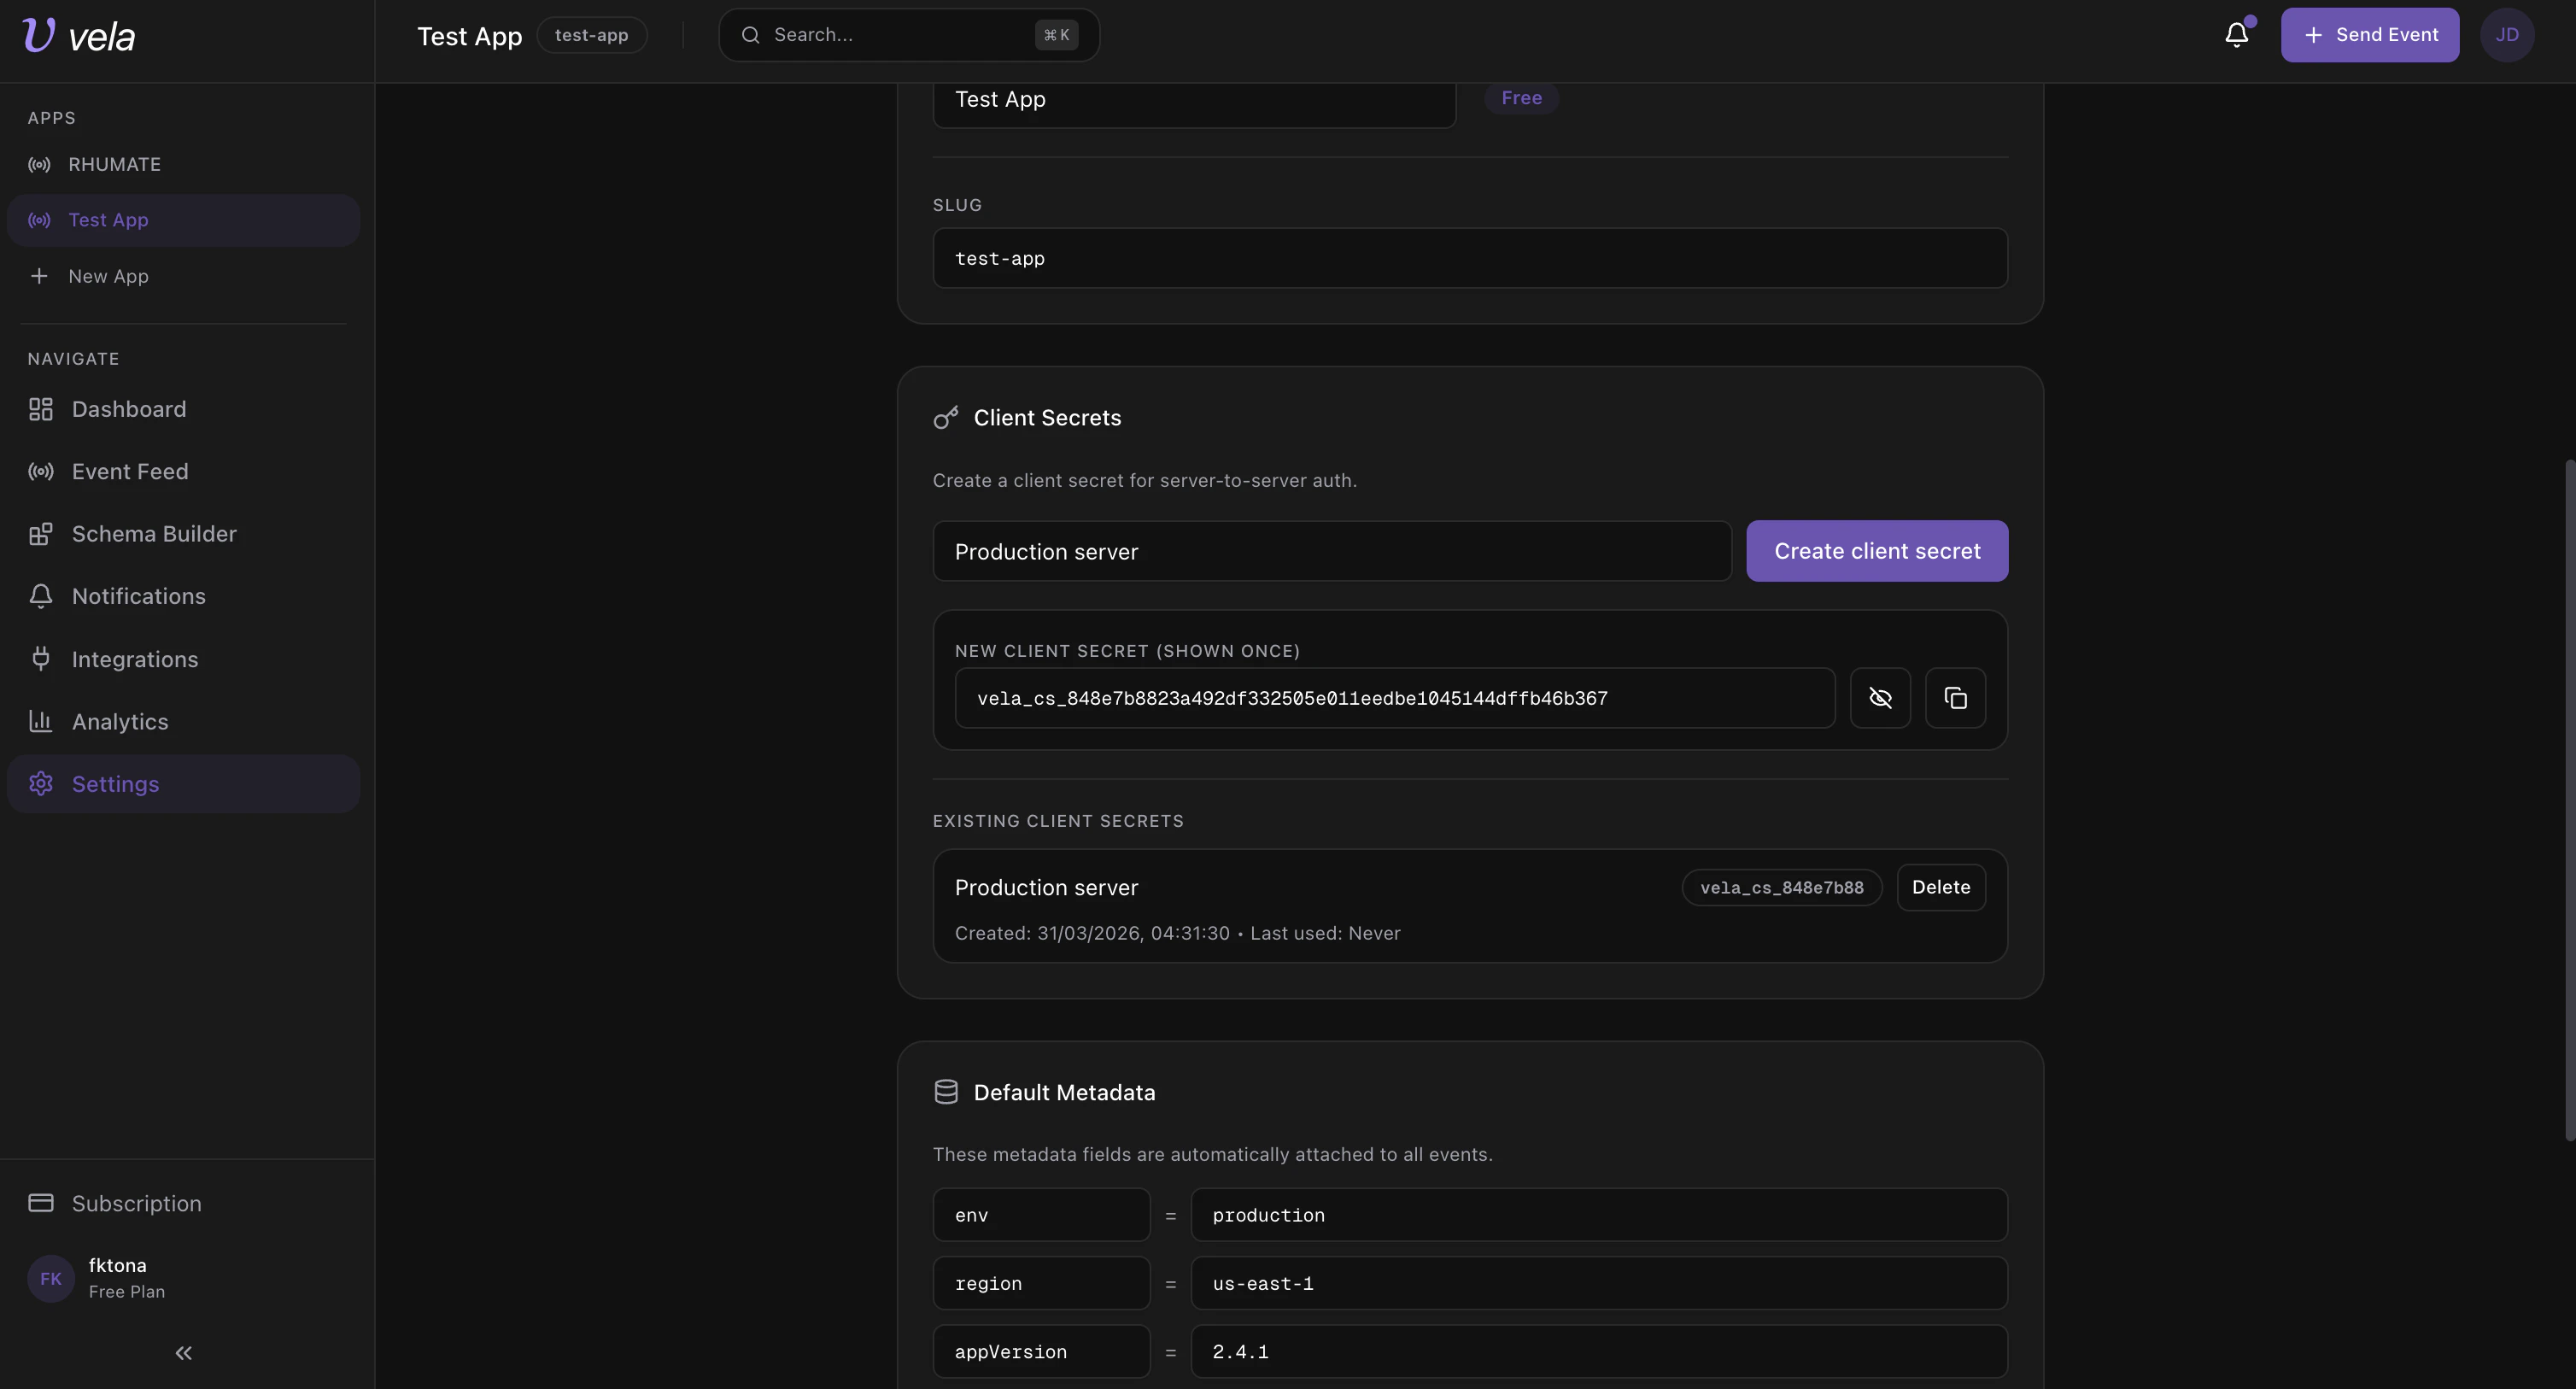
Settings page — manage app details, client secrets, and default metadata.
Rotate API Key
Use this when the current API key may be compromised or as part of scheduled rotation.- Scroll to the Danger Zone.
- Click Regenerate API Key.
- Copy the newly revealed key immediately.
- Update all server-side environments and redeploy.
Create Client Secrets
Client secrets are used for server-to-server management API access.- In the Client Secrets section, enter a label (e.g.
Production server). - Click Create client secret.
- Copy and store the revealed secret immediately — it is shown only once.
Default Metadata
The Default Metadata section at the bottom lets you define key-value pairs (e.g.env = production, region = us-east-1) that are automatically attached to all events ingested by this app.